Your Guide to Thawing Frozen Scallops
September 1st, 2021Best Ways to Defrost Scallops
Knowing how to thaw frozen scallops properly ensures that you’ll be able to enjoy all of the quality and flavor that frozen scallops have to offer. Wild-caught weathervane scallops from Alaska are especially sweet and delicate. Thawing scallops properly is the first step in preparing an extraordinary meal.
Improper thawing technique can lead to waterlogged scallops, which can make it difficult to sear scallops. Also, make sure your scallops are “dry-packed,” since wet-packed scallops contain chemical additives that negatively affect texture, flavor, and prevent a good sear. More importantly, thawing scallops the wrong way can potentially set you up for food safety issues.
Luckily, knowing how to defrost scallops is easy. We’ve got you covered here with two different step-by-step methods:
-
The Standard Way (10 to 12 hours)
-
The Quick Way (about an hour)
The Standard Way to Thaw Scallops
Time needed: 10-12 hours, or until defrosted through
Defrosting scallops overnight in the refrigerator is the best way to preserve the integrity of the seafood. This is also the safest way to thaw frozen scallops, since they'll gradually defrost in controlled, cool temperatures that inhibit the growth of harmful bacteria.
Note: If you’d like to defrost only a few scallops rather than a lot of them, learn how to safely thaw only part of your pack of scallops.
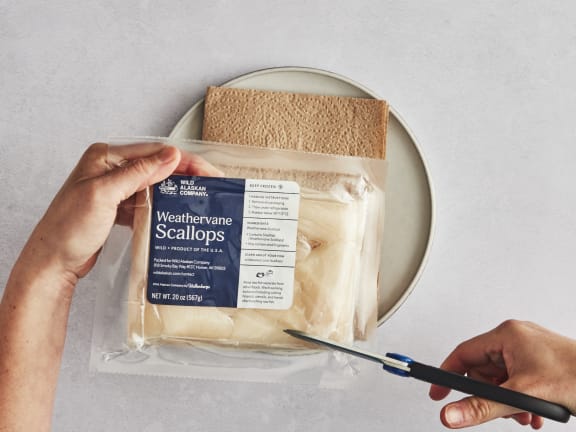
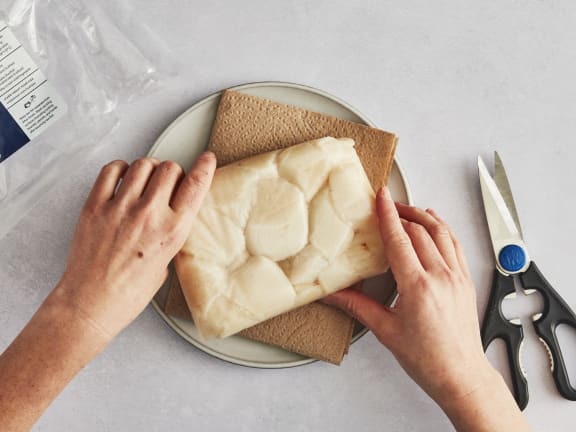
Remove the scallops from their vacuum-sealed packaging.
Place your seafood on a plate/tray lined with paper towels or a tea towel that will fit on a low shelf in your refrigerator, arranging them in a single layer if possible. The paper towels will absorb the liquid melting off the seafood.

Place this on a low shelf in the refrigerator (typically the coldest spot in the refrigerator).
 Once the scallops have thawed — this will usually take 10-12 hours — pat them dry before cooking to remove any excess moisture for best flavor and texture. We recommend cooking your seafood within a day or two of being defrosted.
The Quick Thaw Way to Defrost Scallops
Time needed: About an hour
For those days when you don’t have enough time to thaw scallops the standard way, you can use a safe and quick thaw technique that will have you cooking in about an hour.
SAFETY NOTE: Keep in mind, for food safety’s sake, you’ll only want to do a quick thaw if you’re planning on cooking your seafood promptly after thawing.
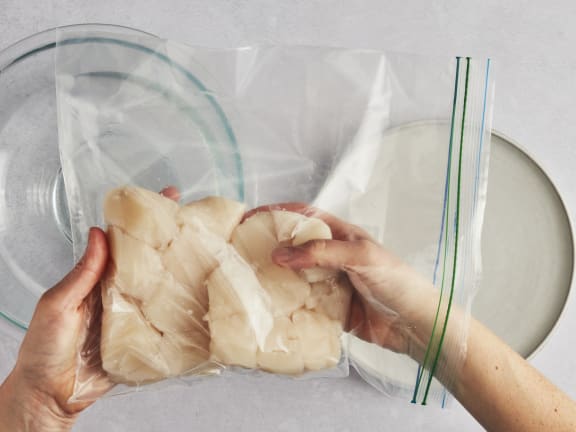
Remove the scallops from their vacuum-sealed packaging.

Then, place it in a separate, resealable bag that can be sealed tightly.

Next, fill a bowl with cool water. Do not use warm water for food safety reasons. Put the resealable bag of seafood into the bowl of cool water, keeping it completely submerged with something weighty. At the 20- or 30-minute mark, change out the water in the bowl, refilling with cool water, making sure that everything is still submerged.
Once the scallops have thawed, remove from plastic bag.
Take extra care to pat dry the scallops before cooking to remove any excess moisture for best flavor and texture. Cook promptly after defrosting.
Where to Buy Weathervane Scallops
Weathervane scallops are a delicacy from Alaskan fisheries, so they may not be easy to find at your local market. You can buy sweet, flash-frozen Weathervane scallops from a trusted online vendor like Wild Alaskan Company, which sources sustainably-harvested scallops in addition to a variety of wild-caught species of fish and shellfish.